


CLOUD TEKKI® has always aimed to be the place to memorialize new learnings! As someone constantly jumping from one topic to another frequently, I often had to re-learning or researching topics all over again. I planned on documented my learnings so that any complex topic that I explore will live on as a content for everyone as well as myself to consume on the internet. Another core mission for CLOUD TEKKI® was that it would serve as a brand to inspire and enable others by demystifying technology concepts. As I can continue to march forward on that journey, I’d also like to also welcome fellow Technologist with similar mindset to share their content here at CLOUD TEKKI®.
If you chose to write your blog @ cloudtekki.com, I will strive to
- help you explore, learn and build openly
- help you share that information broadly with the goal of enabling others
…and so for those inspired few that want to get started on publishing their very own blog post, here is a quick guide on how to get started.
Pre-requisite
To get started, I recommend using my setup which contains of the following softwares
- Package Manager for your OS - used to install the below softwares easily
- Visual Studio Code - used for editing and will be the primary interface to manage the blog
- Git - used to version control and push changes to github
- Hugo - open-source static site generator that is going to help convert MD files and other code into a website
|
|
Writing a Post
Create MD file
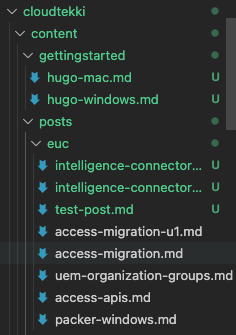
To start writing a post, create a new Markdown file under the content/posts/<category>/<md-name>.md folder.
What is Markdown(MD)?
- Markdown is a lightweight and easy-to-use syntax for styling all forms of writing on the GitHub platform - https://guides.github.com/features/mastering-markdown/
- Here is a cheatsheet to get started - https://guides.github.com/pdfs/markdown-cheatsheet-online.pdf
Adding Images
If you are going to be using images or screenshots in your posts, you have two options
- if the images are hosted in the cloud, provide a link to the image
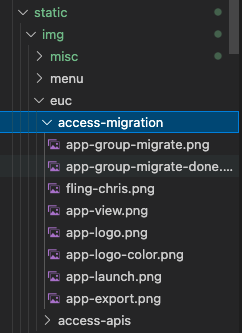
- if they are files on your local system, add the files into the
static\img\<category>\<md-name>\your-files.pnglocation
Use the code below to add the images in your MD files
|
|
Other Formatting Options
Hugo and the theme provides a lot of ways to creatively express your ideas. Check out these following documentations for all the formatting options
Commit Changes
Once you are done editing the blog post(the markdown file), please commit your changes as described here
|
|
Create a Pull Request
Once your changes are tested and pushed to your fork, you should be able to see the commit if you navigate to https://github.com/<your-username>/cloudtekki. After you’ve confirmed that your changse are in github, proceed to create a Pull Request as explained here. We will proceed to merge your changes and publish your blog post after a successful review (PR process example #1, #2)
Wrap Up
Hopefully, this helps get you started! If not, please feel free to reach out and I’ll be glad to help!